Sending large files via email can be frustrating, right? You try to attach that important video, presentation, or set of photos, but boom—the file size limit stops you dead in your tracks. Most email services have a limit (often around 25 MB), and if your file is bigger than that, you need to find a workaround. Lucky for you, there are plenty of ways to get around this obstacle without pulling your hair out. In this article, I’m going to walk you through everything you need to know about sending large files when email just won’t cut it. From cloud storage to file compression, I’ll cover smart, easy-to-use options so you can share those bulky files effortlessly.
Why Can’t You Send Large Files Through Email?
Email providers impose strict limits on the size of attachments primarily to manage server resources effectively. When users send very large files, it puts a significant strain on the servers that handle email traffic. These servers need to process and store millions of emails every day, so allowing unrestricted file sizes would quickly overwhelm their capacity. This could cause delays, slow down service for everyone, or even lead to system crashes. To prevent such issues, providers set size restrictions that help keep the email system reliable and fast.
Beyond just storage concerns, bandwidth is another major factor. Sending large files consumes a lot of data transfer, which can slow down network speeds for other users sharing the same server infrastructure. Bandwidth management ensures that no single user’s activity negatively impacts others. If unlimited large files were allowed, it could result in congestion, affecting the quality and speed of email delivery overall. Thus, these limits are a balance between user convenience and maintaining a smooth, stable service for the entire user base.
Different email providers have different attachment size caps, but they usually hover around the 25 MB mark. For instance, Gmail and Outlook typically limit attachments to 25 MB, which means any file larger than that will be rejected or automatically uploaded to a connected cloud service instead. Yahoo Mail follows a similar rule, allowing attachments up to 25 MB. However, some corporate email systems enforce even smaller limits as part of their internal security and IT policies. This means the ability to send large files can vary depending on the email service or organization you’re using.
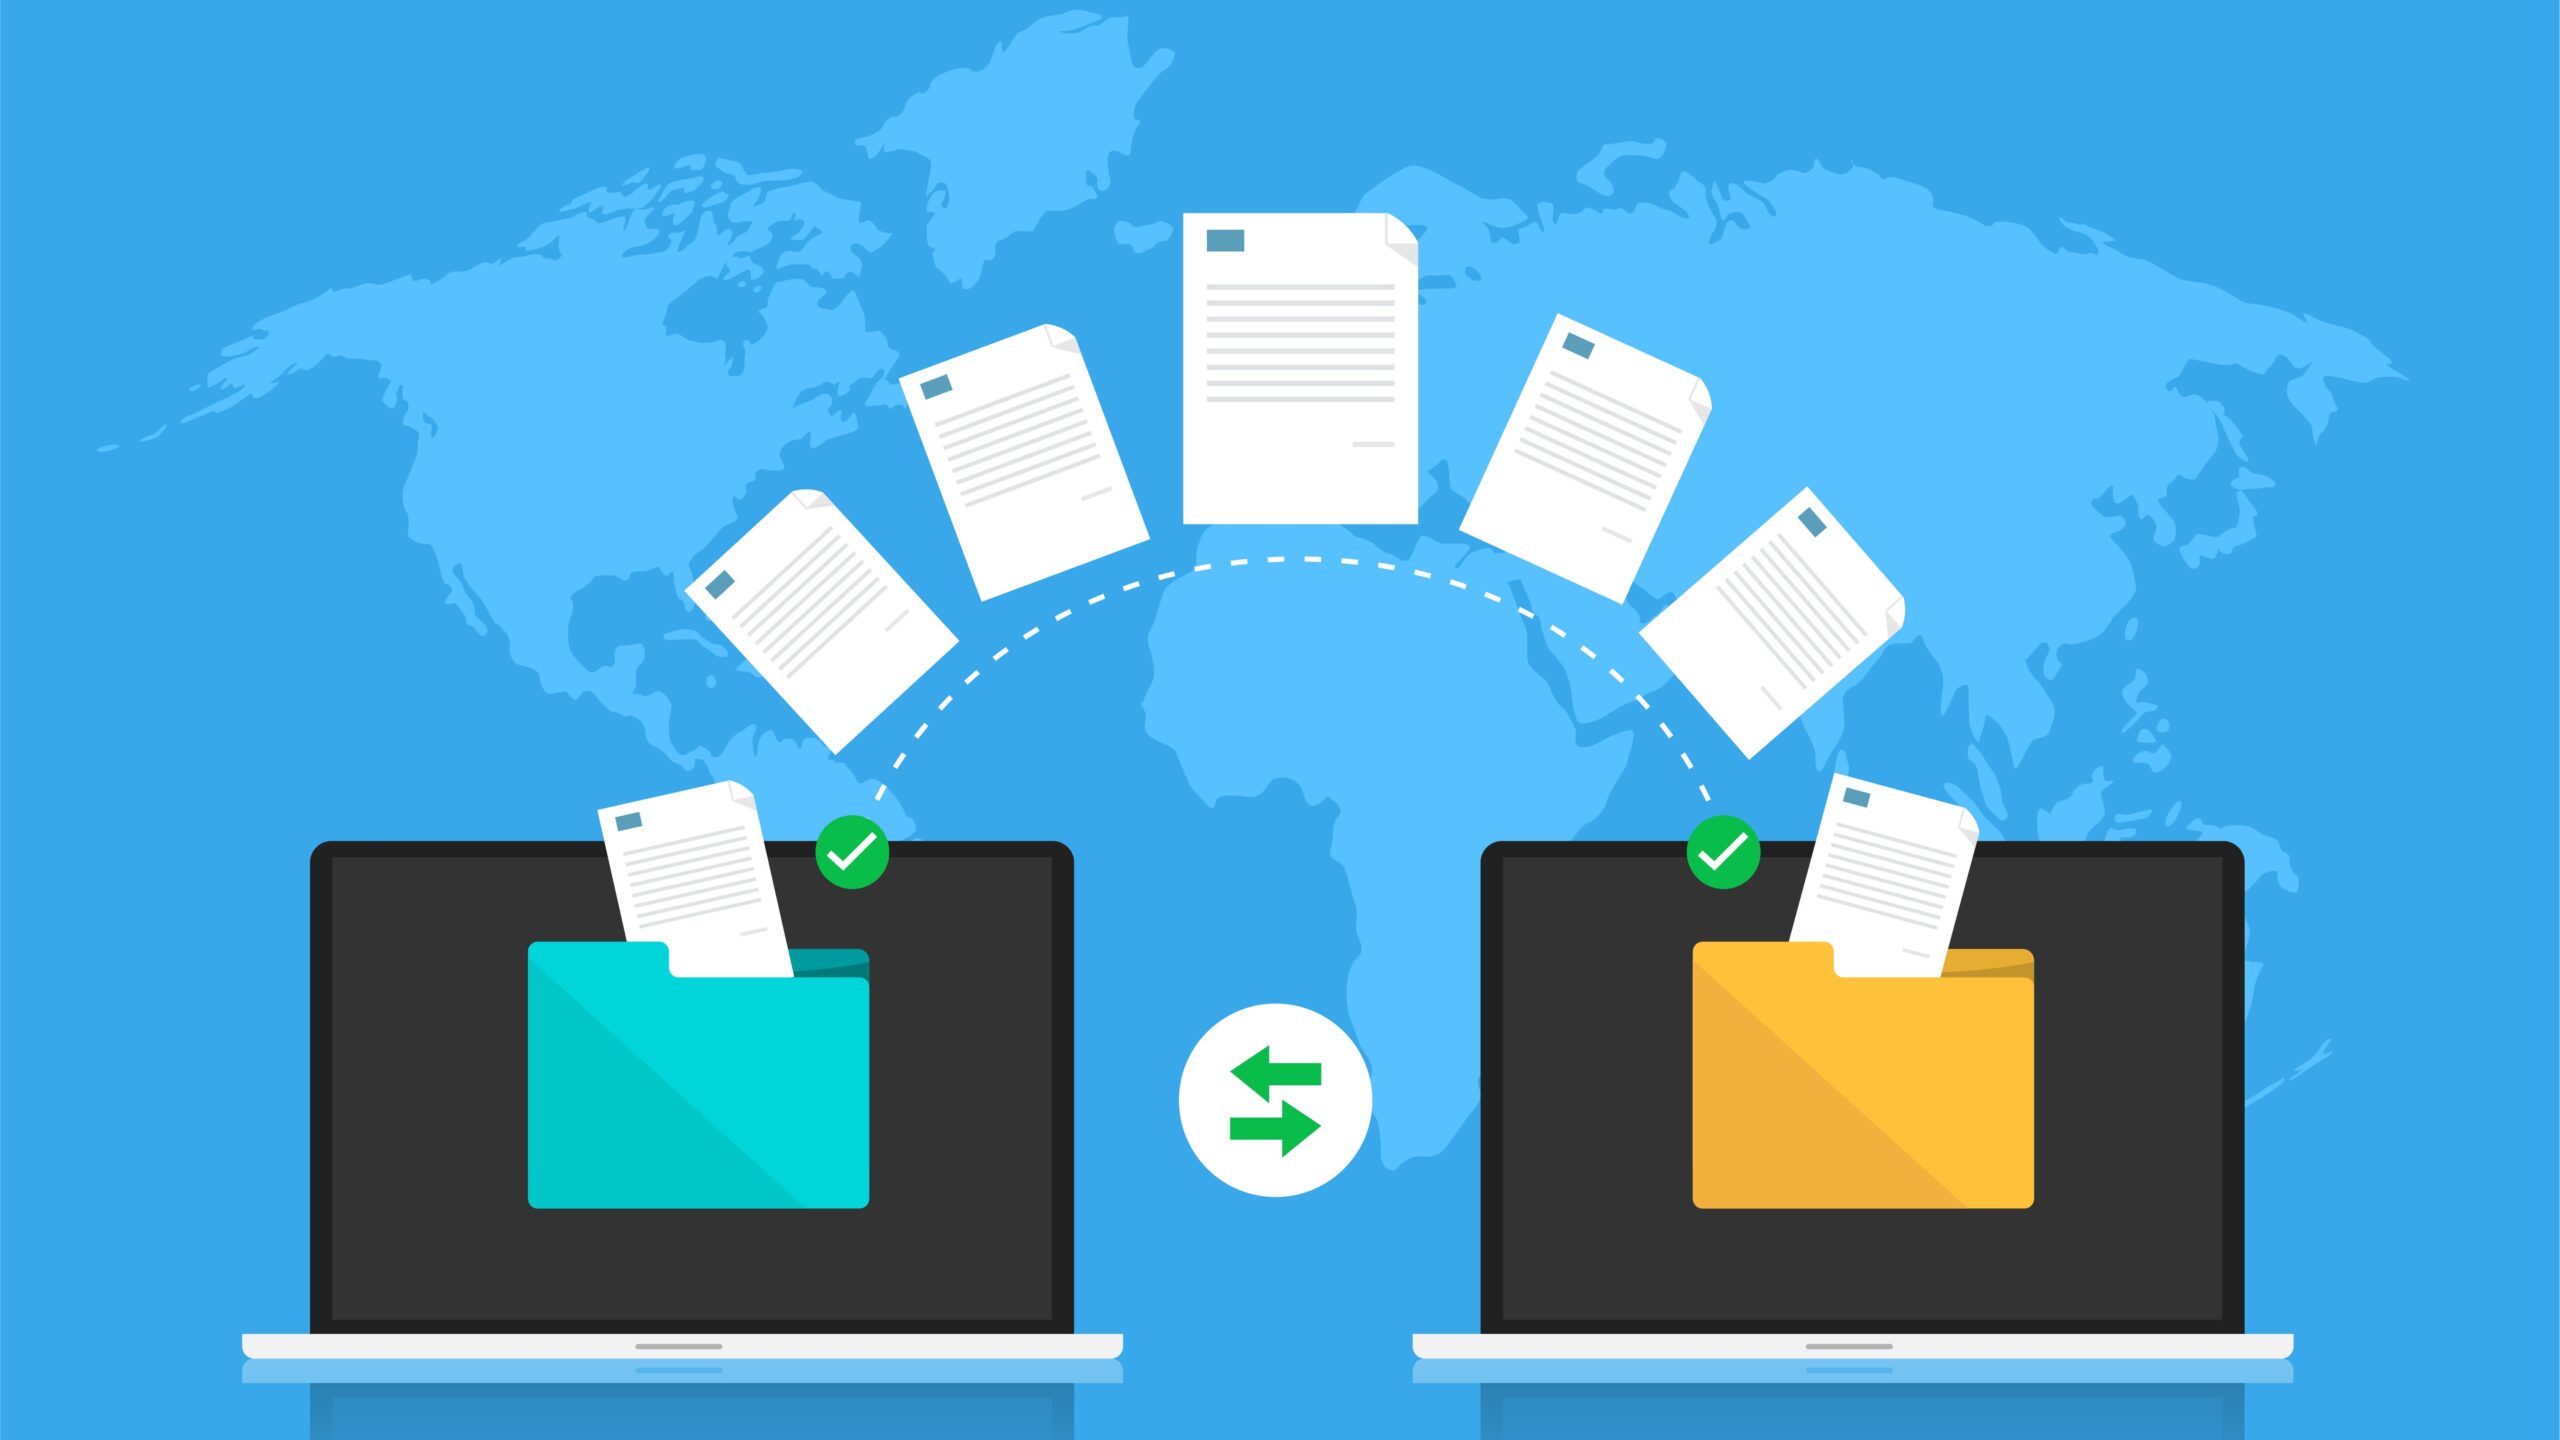
When you encounter these limits, it means you need to look for alternatives beyond traditional email attachments. Fortunately, there are plenty of options designed specifically to handle large files securely and efficiently. Whether it’s using cloud storage platforms, compressing files to reduce their size, or leveraging specialized file transfer services, these methods help bypass email restrictions and still get your important files to your recipients quickly. Understanding why these limits exist helps you better appreciate the solutions available and how to choose the right one for your needs.
Best Ways to Send Large Files That Are Too Big for Email
| Method | Description | Pros | Cons | Popular Services / Tools |
| Cloud Storage Services | Upload files to cloud platforms and share download links with recipients. | Easy to use, large storage capacity, share with many users | Requires internet connection, some have storage limits | Google Drive, Dropbox, OneDrive, WeTransfer |
| Compress Your Files | Reduce file size by bundling and encoding files into compressed archives. | Can shrink files 20%-80%, group multiple files, adds security | Limited compression on videos/photos, requires decompressing | WinRAR, 7-Zip, WinZip |
| File Transfer Services | Specialized websites that allow quick uploads and sharing without signups. | No account needed, simple, fast transfer | Free limits on file size, files expire after some days | WeTransfer, Send Anywhere, TransferNow |
| Split Files into Smaller Parts | Break a large file into smaller chunks and send separately, recipient reassembles them. | Bypasses size limits, works with any email | Can be confusing for recipients, requires rejoining tools | 7-Zip, WinRAR |
| Messaging Apps with Large File Support | Use modern chat apps that support large file uploads and sharing directly in chats. | Instant delivery, easy for quick sharing | File size limits lower than some cloud services | WhatsApp, Telegram, Slack |
Step-by-Step Guide: Sending a Large File Using Google Drive
Sending large files through Google Drive is simple and reliable. Here’s a detailed step-by-step guide to help you get it done without any hassle.
- Open Google Drive
Start by opening your web browser and going to the Google Drive website. Make sure you’re logged into your Google account. If you don’t have one, you’ll need to create it first—it’s free and quick. - Upload Your File
Once inside Google Drive, look for the “New” button on the left-hand side. Click it, then select “File upload” from the dropdown menu. This will open a file explorer window where you can browse your computer for the large file you want to send. Select your file and click “Open.” You’ll see an upload progress bar in the bottom right corner of your screen. Wait until the upload is complete before moving on. - Locate Your Uploaded File
After the upload finishes, your file will appear in your Drive’s main list of files. If you uploaded many files or it’s a busy Drive, you might want to use the search bar at the top to find it quickly by name. - Set Sharing Permissions
Right-click on the file you want to share to open the context menu. Choose the option labeled “Get link.” A sharing window will pop up. Look for the section titled “General access” or “Link sharing.” Here, you’ll see who currently has access to the file. - Adjust Access Settings
Click on the dropdown menu under “General access” and select “Anyone with the link.” This setting ensures that anyone you send the link to can access the file without needing a Google account or special permissions. - Choose Viewer or Editor Rights
Just below the access setting, you can decide whether the recipient can only view the file or edit it. Usually, “Viewer” is the safest choice because it prevents accidental changes or deletion. However, if you want the recipient to collaborate or make edits, select “Editor.”
What About Security?
When you share large files online, security should always be a top priority because you’re entrusting your sensitive data to third-party services. Not all file-sharing platforms offer the same level of protection, so it’s important to choose one that uses strong encryption both during file upload and while the data is stored. Encryption ensures that your files are scrambled and unreadable to anyone who might intercept them, making it much harder for hackers or unauthorized users to access your information.
Another important security step is setting passwords on your files or sharing links whenever possible. Many compression tools let you create password-protected archives, adding an extra layer of security by requiring the recipient to enter a password before accessing the contents. Similarly, cloud storage services like Google Drive or Dropbox allow you to create password-protected links or restrict access to only those with the password, preventing accidental or malicious sharing beyond your intended recipients.
Limiting link access to specific people is one of the best ways to protect your files. Instead of making a file available to anyone with the link, many services offer options to restrict access by inviting only certain email addresses or requiring sign-in with verified accounts. This way, even if the link somehow gets shared publicly, unauthorized users won’t be able to open the file. Taking this extra step is especially crucial when dealing with sensitive or confidential documents that could cause harm if leaked.
Lastly, it’s wise to avoid sharing highly sensitive files using public links altogether. Public sharing can be convenient but inherently risky because you have no control over who might access the file once the link is out. For critical information, using more secure methods like encrypted messaging apps or private cloud folders with strict permissions is a safer bet. Being mindful of these security practices can help you protect your data and maintain peace of mind while sharing large files online.
File Size Limits: What You Should Know
| Platform | Max Attachment Size | Notes | Storage Limit | Additional Info |
| Gmail | 25 MB | Larger files automatically uploaded to Google Drive | 15 GB (free tier) | Easy integration with Google ecosystem |
| Outlook | 20-34 MB | Depends on email provider and plan | Varies by plan | Often linked with OneDrive for large files |
| Yahoo Mail | 25 MB | Standard limit for attachments | 1 TB (Yahoo Mail Pro) | Basic free tier storage is smaller |
| WeTransfer | 2 GB (free) | No account needed | N/A | Simple interface, link expires after 7 days |
| Google Drive | Limited by storage | Supports very large files via upload | 15 GB (free tier) | Can share files up to your storage limit |
| Dropbox | Limited by storage | File size depends on your storage plan | 2 GB (free) to several TBs (paid) | Supports folder sharing and collaboration |
When to Use Which Method?
- For small to medium files up to 25 MB, email attachments are the simplest and most convenient option. Most email providers support attachments within this size range, so you can quickly send documents, photos, or presentations without extra hassle or tools.
- When your files are larger than 25 MB but less than 2 GB, it’s best to switch to cloud storage services like Google Drive, Dropbox, or OneDrive. These platforms allow you to upload your files and then share a secure download link with recipients. This method avoids clogging email inboxes and gives recipients easy access from any device.
- For file sizes exceeding 2 GB, cloud storage platforms remain the most reliable choice. Services like Google Drive and Dropbox can handle very large files limited only by your storage quota. They also offer advanced sharing options, such as setting permissions and expiration dates on links, which are important for privacy and security.
- When you have multiple files or entire folders to send, compressing them into a single archive file (using tools like WinRAR or 7-Zip) before uploading is highly recommended. This reduces the total size and keeps all files organized together, making it easier for your recipient to download and manage them.
- If you need to share files temporarily and want to avoid account creation or long-term storage, file transfer services like WeTransfer are ideal. They allow you to send files up to 2 GB (for free) quickly via shareable links or direct emails, but these links typically expire within a week, so they work best for one-time or urgent transfers.
- For very frequent file sharing, especially within teams or organizations, dedicated collaboration platforms like Slack or Microsoft Teams also support file uploads and sharing, with added benefits like chat and project management features.
- When security is a top priority, always use services that support encryption both during upload/download and while storing your files. Look for options to password-protect compressed archives or set restricted access on shared links to ensure only intended recipients can view your files.
- If your recipient has limited internet bandwidth or storage, consider splitting very large files into smaller parts using archiving tools that create multi-volume archives. This way, they can download the file in manageable chunks and reassemble them on their device.
- For multimedia files like videos or high-resolution images, note that compression might not significantly reduce size, so cloud storage or transfer services remain the best options for sharing without loss of quality.
- When sharing sensitive or confidential information, avoid public sharing links. Instead, opt for private sharing options where you can specify recipients’ email addresses and restrict access, minimizing risks of unauthorized access.
Tips for Faster Upload and Download
Uploading and downloading large files can sometimes feel like watching paint dry, especially if your internet connection isn’t the fastest. One of the most effective ways to speed up this process is to use a wired internet connection instead of relying on Wi-Fi. Wired connections tend to be more stable and provide consistent speeds, reducing interruptions and slowdowns during file transfers. If you’re working from a laptop or device that usually connects via Wi-Fi, consider plugging in an Ethernet cable when transferring large files to avoid delays caused by signal interference or weak connections.
Another important factor that affects upload and download speed is how much bandwidth your network is using at the same time. If you have other apps or devices streaming videos, downloading updates, or syncing data, these can hog your bandwidth and slow down your transfers. Closing unnecessary apps and pausing background downloads or streaming services can free up more bandwidth, allowing your file uploads or downloads to complete much faster. It’s like clearing a traffic jam so your data can flow smoothly.
Compressing files before uploading is another smart trick to reduce transfer time. Compression software like WinRAR or 7-Zip can shrink your files, sometimes drastically, depending on the file type. Smaller files take less time to upload and download, saving you valuable time and data usage. However, keep in mind that some files, like videos or already compressed images, might not shrink much, but for documents, spreadsheets, and other similar files, compression often makes a noticeable difference.
Lastly, timing your uploads and downloads can impact speed. Internet traffic tends to be heavier during the day when more people are online, especially in residential areas. Uploading or downloading large files during off-peak hours, like late at night or early morning, often results in faster transfer speeds because fewer users are competing for bandwidth. So, if you’re not in a rush, scheduling your transfers during these quieter times can save you a lot of waiting.